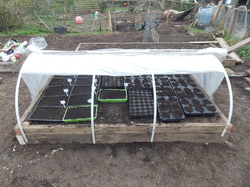
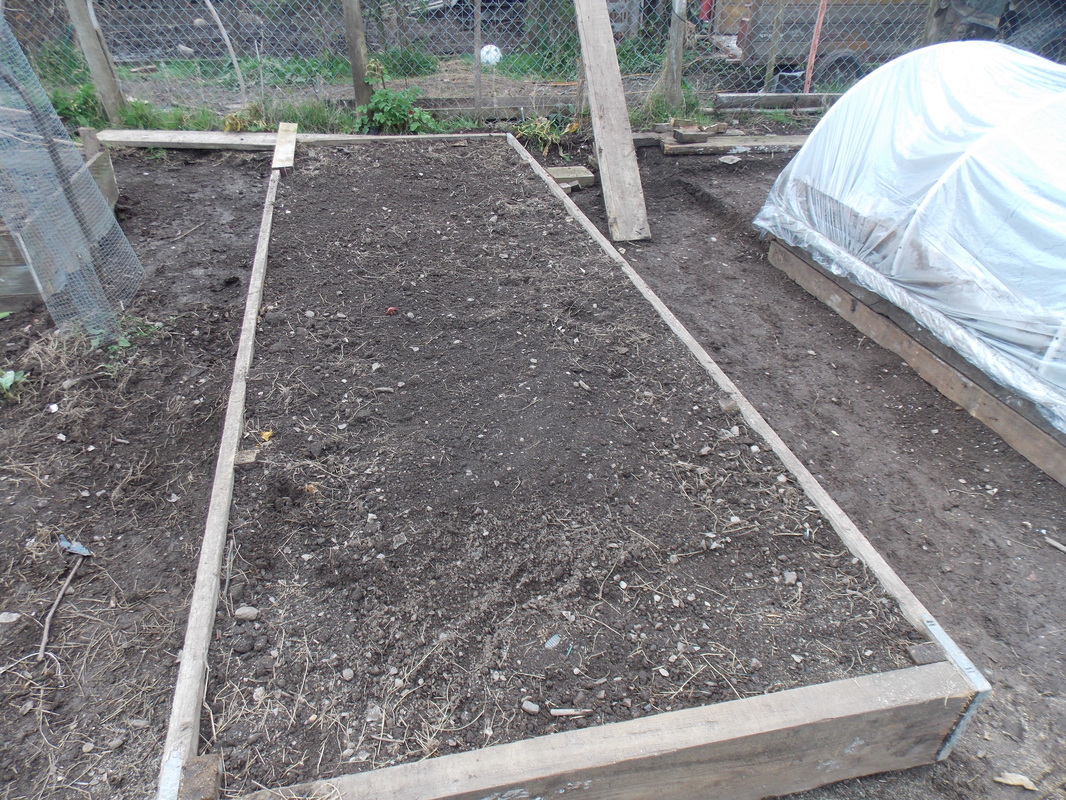
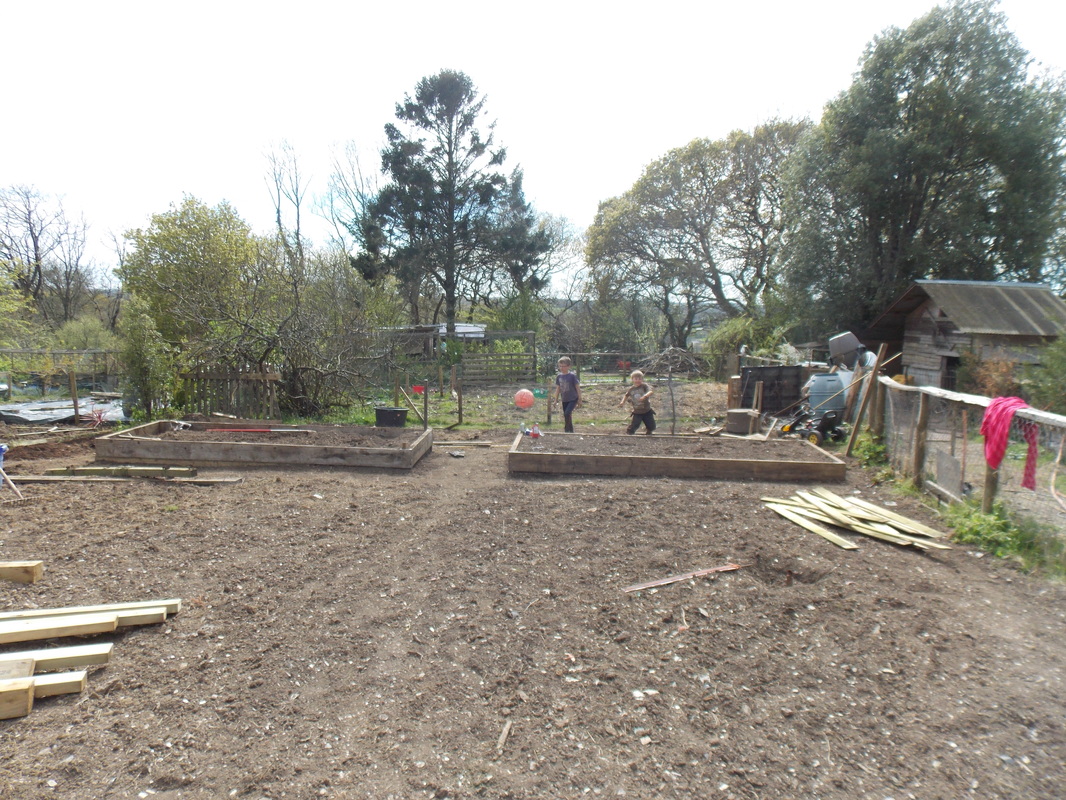
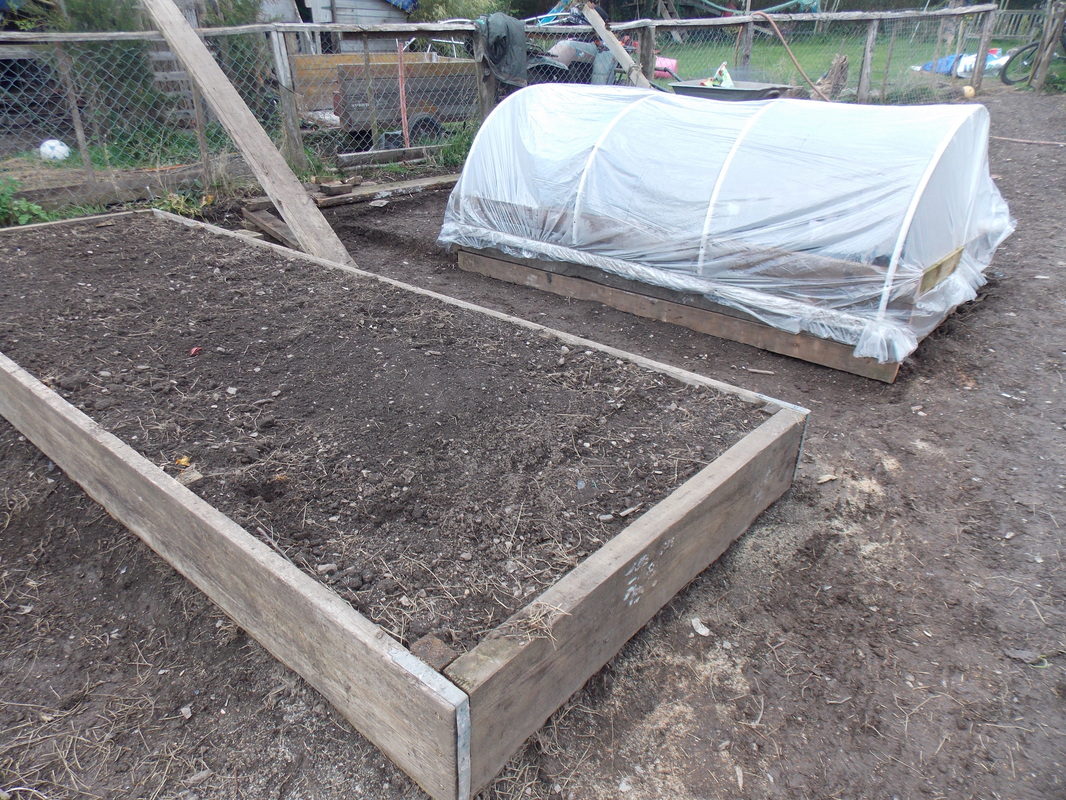
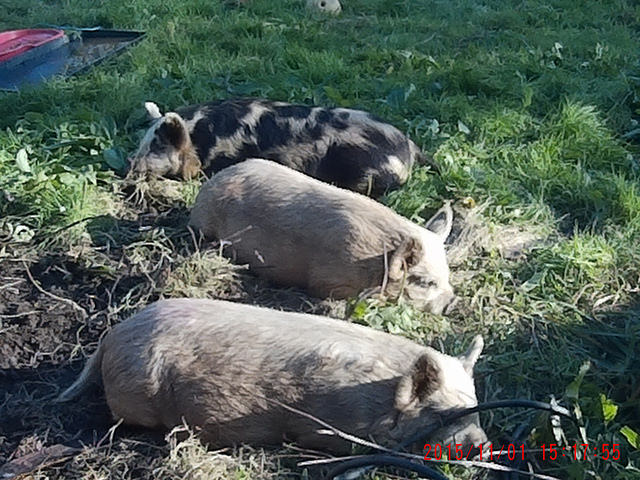
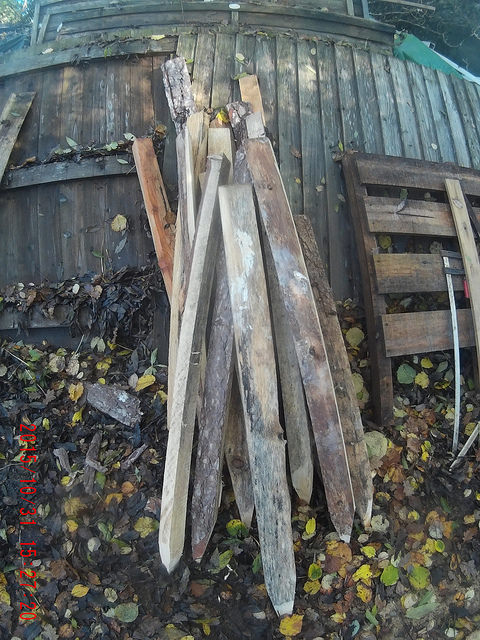
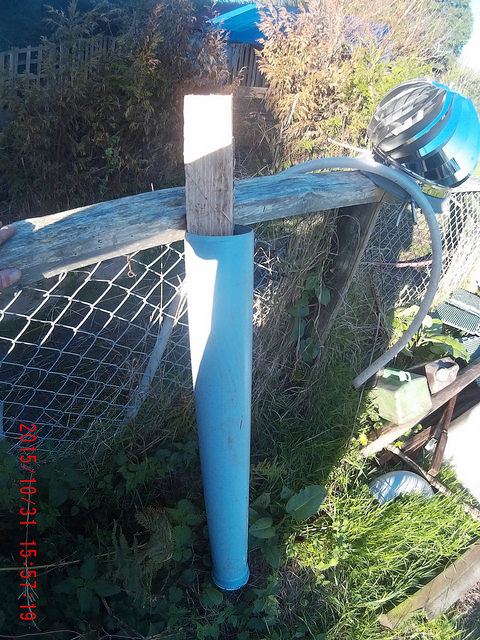
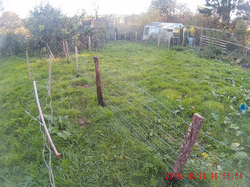
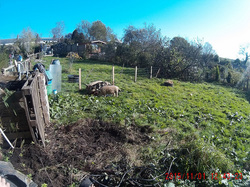
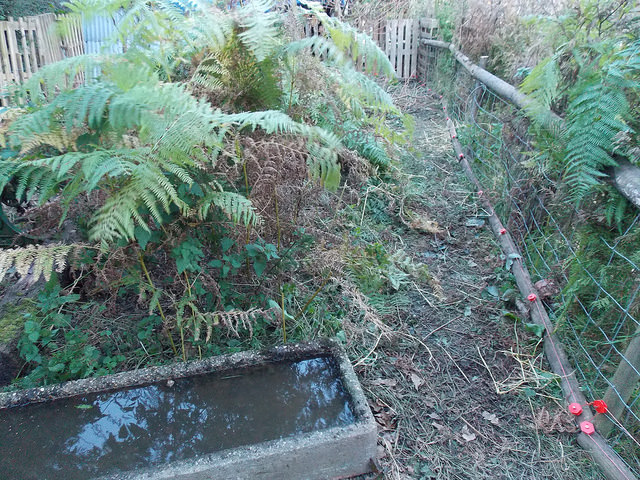
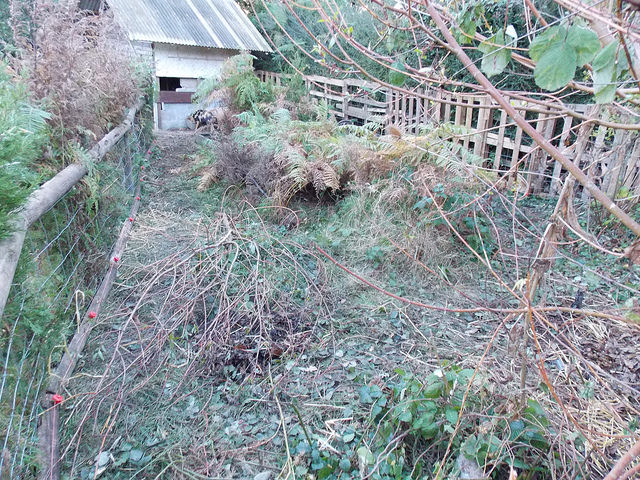
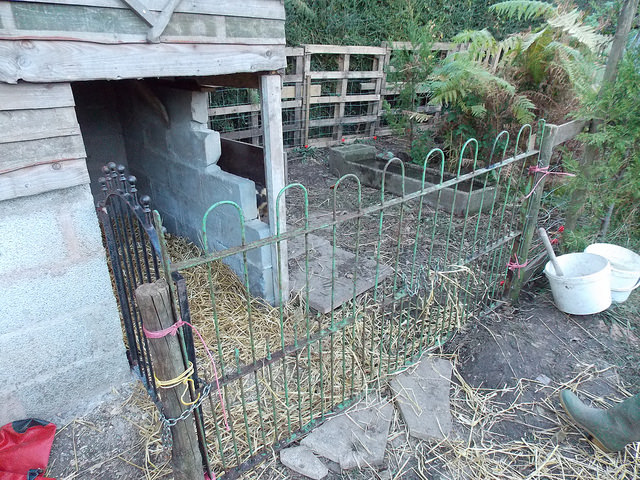
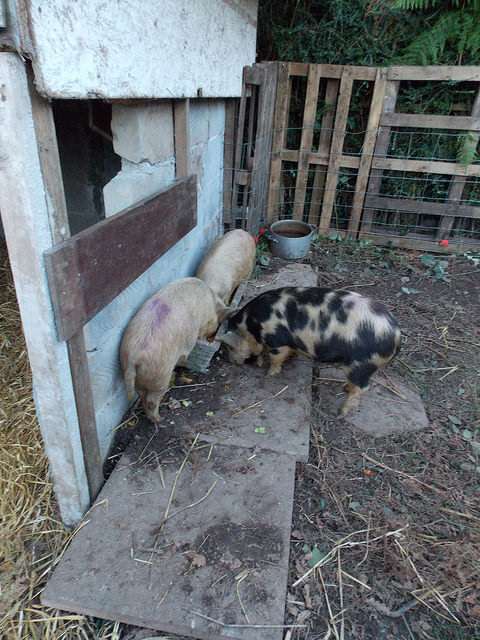
| Now the veg plot is clear of grass and weeds thanks to the pigs - we are working at re-aranging the area to up production but minimise our input to do this we are making 1/2 the area in to a raised bed garden , this will be easier to manage but also mean we can cut back on watering with a layerd infill where the bottom 1/2 is rotted compost and manure and the top layer is just top soil Some are going to be built Huglcultur style and the more woody and larger compostable material will be at the bottom coverd in wood chip then a layer of top soil all these layers aid water retention and cut the growth of unwanter weeds from the comopost material and manure So far we have built the 2 main beds each 5ft x 14ft - one kids bed at 4ft x 4ft and the first second row bed of 10ft x 5 ft this we have made in to a clotch for potting up and propagation as our greenhouse was wrecked by the last few storms The clotch will be duel use first it will be helping bring on the seedlings and at the same time warm up the soil in the bed - secondly will offer a place to grow our leafy salad plants quickly and securely under cover The cloch is simply made from off cuts of pvc water pipe and leftover dust sheet material easily screwed to the side of the bed We are planning to get the rest of the beds done by the end of the month but are getting low on free timber which has been stored back for this project for the past 3 years Inbetween the beds we will seed the paths with a heavy traffic grass seed for easy maintenance and to give the area a matural finnished look total time [so far] 10 hrs total cost £5 for screws |
0 Comments
Soon the water will be gravity fed from an external rainwater butt and the feeders will be fitted on the outside of the cages providing more room within - and apart from feed the setup will be self sufficient - diy feeders and drinkers to come
The incubator will be coming out this week so we can start to grow the flock Total cost so far - £ 12 excluding the birds and feed To start off clean your tomatoes and peel the onions slice the tomatoes in half and dice up the onions and chuck it all in to the largest pan you have and add a little salt - herbs to your taste put hob on to simmer We sometimes add some cinamon for that warm / sweet taste but only a little Add some sugar to taste [ if you want the sweeter flavor sauce ] boil slowly to a pulp and keep stiring every now and then to prevent any burning Once boiled to a mush strain out through a preserve strainer in to a bowl and allow to cool a little While the sauce is cooling clean out some glass bottles and lids - and sterilise withwarming up and filling with boiling water. Leave for a little while and drain once 1/2 cooled funnel your sauce in to the bottles and place in the fridge or pantry to keep cool
Ours we have kept for over 3 months without any degradation - just enshure it is kept in a steadily cool place One job i have neglected this year is the chimney sweeping we swept last last after we finished off with the wood burners for the season before but this year we have left it to the last min quite amazed how much soot - tar came out of the flue - we did use the boiler more last winter than the year before but have not had this much soot out in one sweep so this year we are going to sweep 1/2 way through the winter and at the end to ensure we have a clean - safe flue
so what ever else you do - don't forget to sweep and sweep out good It has been good settled weather lately so there was only one job that was realy needing to be done Rendering - and lots of it , ime not proficient in doing this but it was going to get done one way or another so i started off carrying out the scratch coat when our builder neighbor offered to do the Finnish coat - after only a few hrs the job was done [well the main wall] - me just mixing the muck and passing it up The following weekend we done the same on the angled gable again me just acting as lacky and learning how its done We still have loads more to do but at least we are on the sealing up and finaly mking the house look like a house again
Back 2 years ago we first started work on our new kitchen extension This was to be my first ever full build and a massive learning curve was ahead We had the funds to buy the materials but not for labor hence the need and want to learn how to build Most of what i have learnt on this project has come from watching hrs of youtube vids and sifting google for how to,s - Now really anything is possible when you put your mind to it !! One big challenge was to make this room feel big and airy but also keep it in with the feel of the old part of the cottage - most of this was done by thinking on the go and trying different materials and designs on paper first We fitted a 15 ft steel beam in the ridge of the roof so we could fully vault the ceilings and add a roof light and the old reclaimed beams we already had to really bring out the old feel - This part has taken over 50hrs to complete although there are a few bits that need final finishing Another part we worked real hard on was the hidden storage in the floor - mini cellar Again this changed as we worked and was to be 3 times the size it is now but we hit bed rock where we wanted to make it and had to readjust the size to the softer material at the time as the cement was ordered and we were working to a time frame More to come
Now the old kitchen is out and the room has been given quick makeover it was time to sort out some usable storage and furniture
The main woodburner is in here and before the kitchen was ripped out we always had a gap where we could stack up the fire wood and that was that So i went about making use of the pallets we have had our building materials delivered on and making use of a old ship plank i have had for a good while The main use was wood storage and book shelf - the storage area was enough for 1 weeks supply of fire wood and needed to go with the charm of the cottage First off i spent 2 hrs stripping pallets de nailing and planing down to size - then it was on to sanding and cutting to length A batten was fixed to the wall and to the floor to take the planks and the ship plank was cleaned up and waxed to fit as a shelf All in all it took 4 hrs to make and cost £0 to make A quick coat of wax finished it off As you can see in the pics - this room still needs finishing and at the moment with the other building work we are carrying out this has become the store room untill we can use the new utility Realy need to take better pics !! - will take a better pic |
Authorrenovating a 1.5 acre small holding on a shoestring budget learning on the job and smiling all the way Archives
October 2015
www.p2s-prepared2survive.co.uk |